Create a Menu
This guide explains how to create a new Menu in qoda.ly.
Menus represent the catalog of items available for purchase at your restaurant. When you sign up for qoda.ly, a menu is automatically created for you. However, you can create additional menus to customize your offerings, for example:
- Seasonal menus: special dishes for holidays
- Service menus: breakfast, lunch, and dinner menus
- Event menus: for private events or catering
- Table zoning: bar, beach, dining room, etc.
- Location-based menus: different menus for different locations
Each menu can be configured with its own availability rules. Your guests will be able to view and order from the menus that are available to them based on the rules you set.
Before you start
Before creating a menu in qoda.ly, consider if you could solve your needs with the existing ones you have. For example if your restaurant doesn’t serve “Toasted Sandwiches” after 5pm, you can use the existing menu and change the availability of the Menu group that contains the “Toasted Sandwiches” items.
Steps
- Navigate to the Hub Administration: https://app.qoda.ly/hub/admin page.
- Select the Menus from the main menu.
- Click on the Add a menu button. The only required field is the name of the menu, but lets go through the other settings.
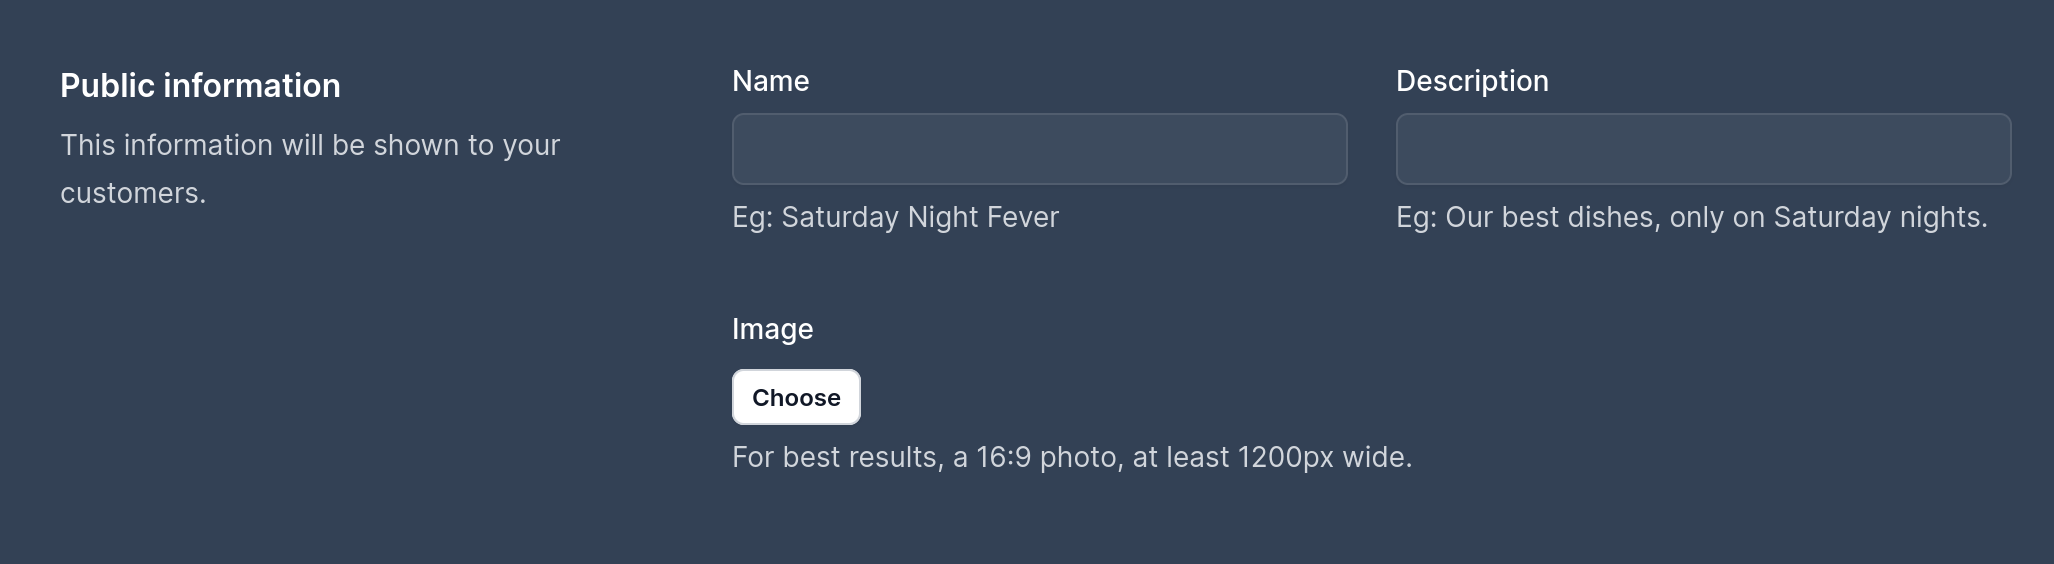
- Configure the public details:
These details will be shown to your guests when they browse your menu.
- Name: Provide a descriptive name for your menu (e.g., “Summer Specials Menu”).
- Description: Add a short description of the menu’s offerings.
- Image: Upload a captivating image to represent the menu.
- Configure the Hub name and color: if you want to use a specific name for internal use and a color to identify the menu.
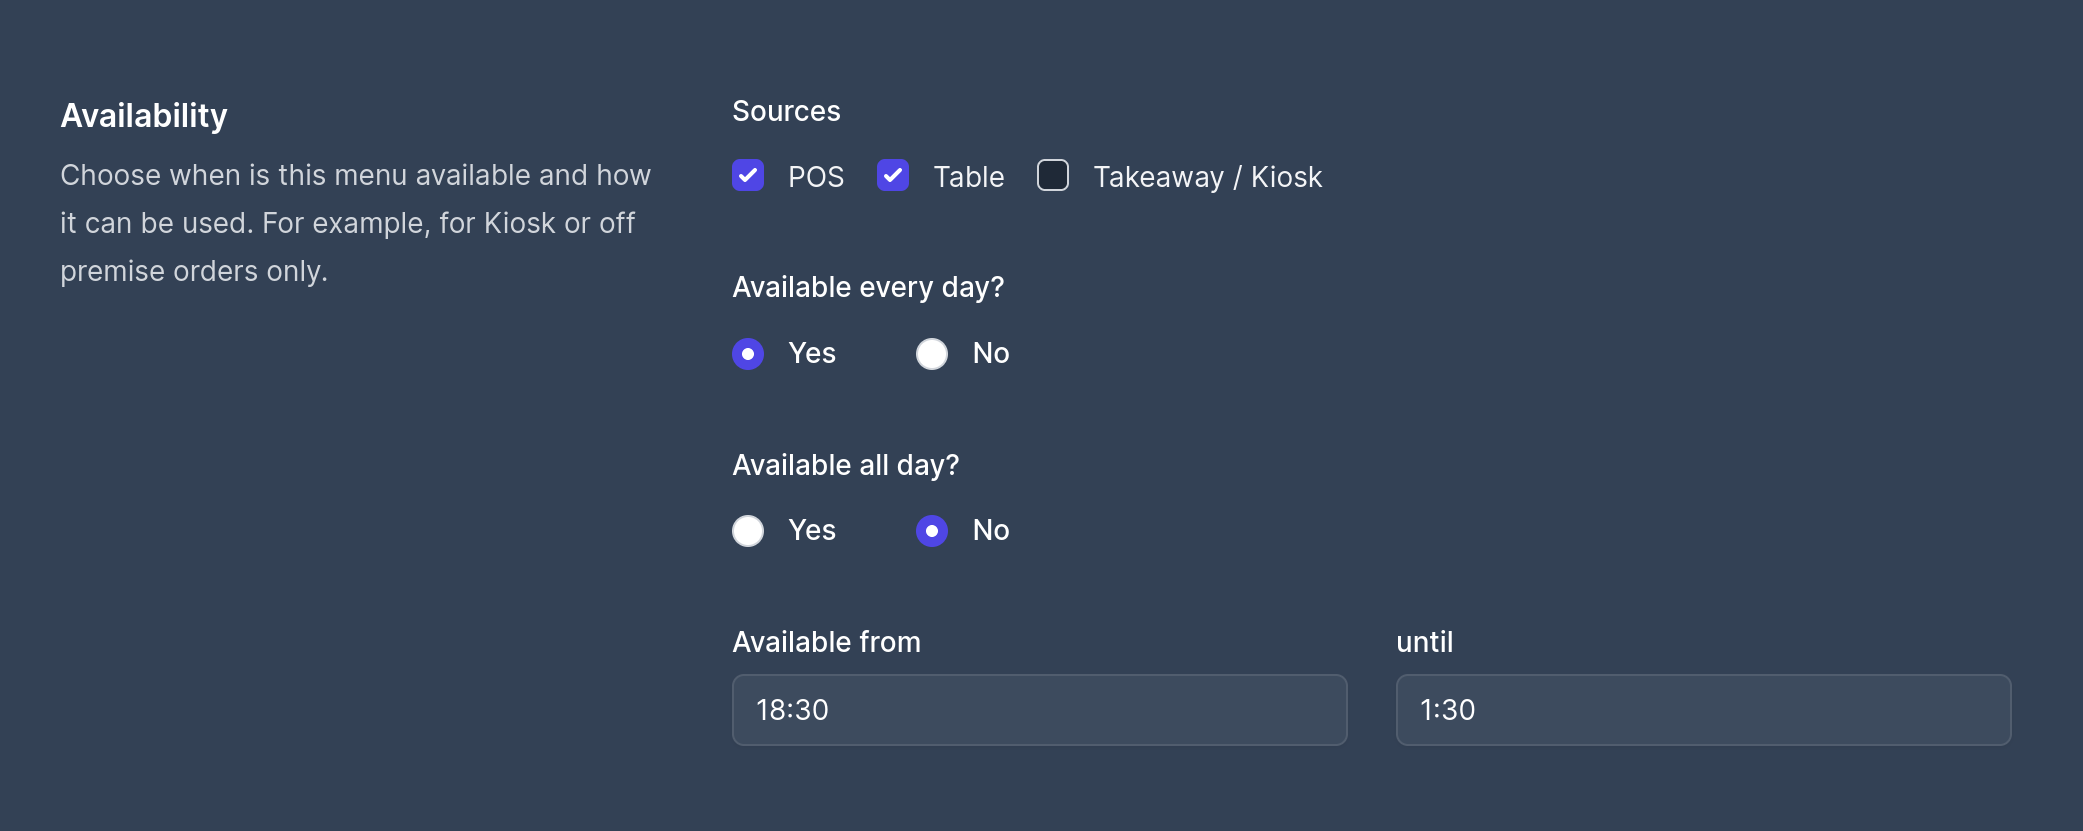
- Configure the Availability:
- Sources: first of all, determine in which channels the menu will be available. POS (the Hub), At table (the QR code) and Takeaway (online ordering).
- Day of week and Time of day: set the days and hours when the menu will be available.
- Advanced settings:
- Set the default Prep station.
- Override the Tax rates.
- Confirm the menu creation.
Next steps
- Add your groups and items: populate your menu with the items you want to offer.
- Translate the Menu: if your restaurant serves guests who speak different languages, you can translate your menu into multiple languages.
- Attach to Table Groups:: Control where your menu is available in your restaurant.
Need help? Contact qoda.ly Support for personalized assistance.