Restrict the menus available at a Table group
This guide explains how to restrict or limit the Menus available at a Table group.
Your restaurant may have different menus for different areas, such as the main dining area, the bar and the terrace. Once you have defined these areas as Table groups in qoda.ly, you can decide to restrict certain areas to specific menus.
For example, you might decide to not show the food menu for customers sitting at the bar. Or, if you build a special menu for a private event, you can restrict it to the tables in the private dining area.
Note
This setting only affects customers ordering at the table using the app. Your staff can still manually select any menu when taking orders.
Before you start
Before you can restrict menus at a Table group, make sure you:
- Have created one or more table groups.
- Have created one or more menus.
- Are logged in as an administrator or a user with the Location Settings permission.
Steps
- Access the Hub Administration page.
- Select the Location settings from the main menu. If you have multiple locations, choose the location where you want to operate.
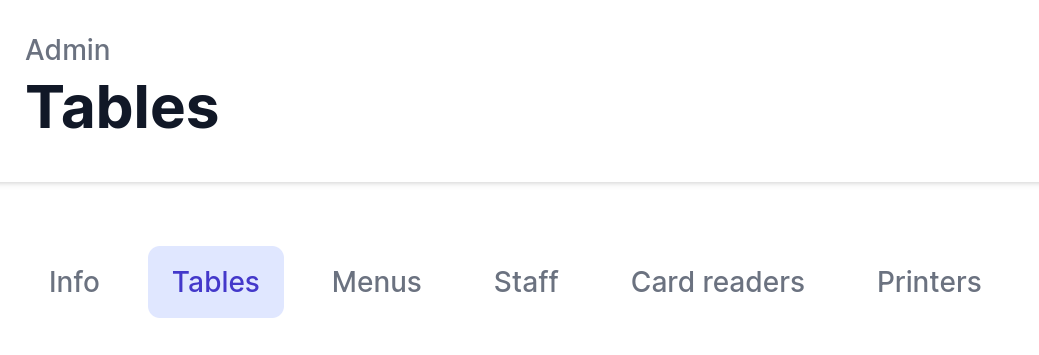
- Click on Tables on the location navigation bar.
- Identify the Table group you want to restrict menus for and click on the Edit button.
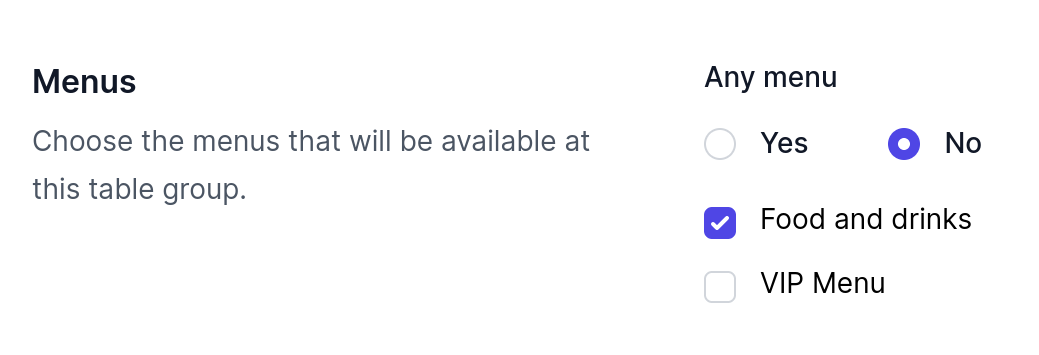
- Scroll down to the Menus section of the Table group settings.
- If you want to allow all menus, select Yes for All menus. This is the default setting.
- If you want to restrict the menus, select No for All menus and choose the menus you want to allow from the list.
No menu showing up?
Double-check the individual Menu availability restrictions (like time, day, or service type) that might be causing a conflict. You can adjust these in the Menu settings.
Need help? Contact qoda.ly Support for personalized assistance.